Here are some notes for people getting started using 1999.io.
We use Twitter identity because it's fast, easy to work with, and also easy for server sysops to set up, much more so than Facebook or other possible identity solutions.
If you're creating a blog on my.1999.io you should know that this is just an experimental server. There's no guarantee that I'll continue to run it for free, or even run it at all. However all your data can be downloaded in a single command, View my JSON file, in the Main menu. Choose the command and save the file. You've just completely exported and backed up your blog. Designed to keep both of us free.
To create a new post, type into the edit box at the top of the page and click the Post button.
If you want to give the post a title, or add a podcast enclosure or a right-margin-image, click on the downward-pointing triangle to see the popup menu. There are other commands in the menu you might find useful.
To edit the post, click on the text, then change the text using standard text editing commands. If you select a word or phrase a tool palette will pop up making it easy to make text bold, italic or make lists, links or quotes.
If you want to see the rendered version of the page, click on the Eye icon.
Every blog has its own RSS feed. To see it, choose View my RSS feed in the Main menu.
The menu at the right edge of the menubar is called the System menu. It shows your Twitter screen name if you're signed in. The Settings command allows you to change bits that are displayed on your rendered pages, decide who has editing access to your blog, or edit the standard parts of your site's RSS feed.
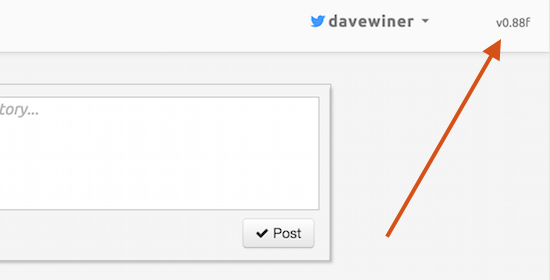
The version of the editor is visible at the right edge of the menubar. Screen shot.